Creating High Converting Product Descriptions for your TpT Products
You can have the best product in the world, if you don’t have a good product description, and good preview images, it won’t sell.
Customers want to know what they’re getting. They need to understand the value of the product. They need to be sold.
That’s where good copy comes in.
I have a whole course on good copy writing. But for this post, we’re going to talk about some things that you can do to have an amazing product description on Teachers Pay Teachers, that will get you high conversions and make you more money.
Why You Need Good Copy
When people are looking at your product, trying to decide whether or not they’re going to make the purchase, the thing that’s going to make that decision for them is your copy (written words).
They will read the product description and either be inspired to purchase, or left to think about it. (And we know if they put off making that purchasing decision, they are unlikely to return to your store to buy).
Your copy will be the difference between a 1% conversion rate and a 10% conversion rate. It literally can 10x your sales.
Copy is Scalable
“Copywriting is persuasion in the most scalable way” – Sam Parr, the Hustle.
If I were working at a store, selling a product to people who walked on the door. If I had the best pitch in the world, I would get one sale.
The only way to generate more money is to see more people and deliver the same pitch. But with copywriting, you can write it once, and it will be delivered to everyone who reads it. You don’t have to keep doing it over and over again.
That’s the power of great copy. It does the work for you.
What Should be in your Product Description?
TpT product descriptions actually have a formula. There are a few things that you must include to be successful.
Every product description must have an introduction, key features, how to use, and a problem that it solves.
Let’s discuss each, and then I’ll share some more tips for success.
The Introduction
Also called the snippet is the first 1-3 lines.
It’s called a snippet because it is the section that people will see when they are scrolling through products on TpT, your resource shows up in a Google search, or it’s posted on Facebook.

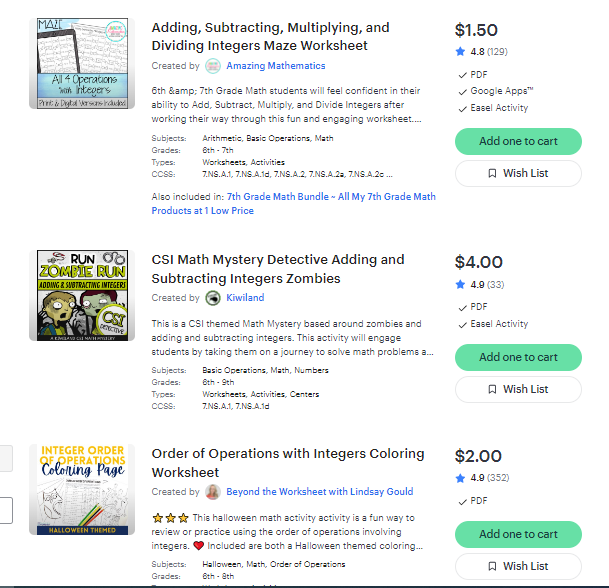
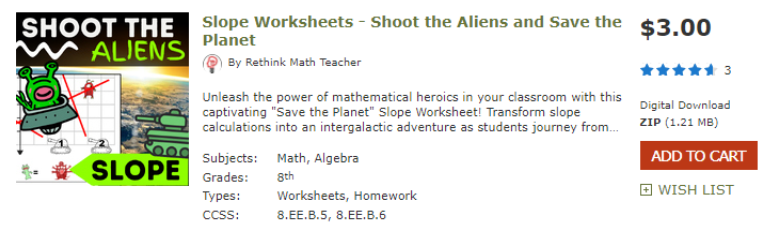
A good SEO strategy is to use a lot of keywords in your snippet, and to use them in the same sentence (close proximity of each other). So if I am selling a practice worksheet for adding integers for grade 7 math, my sentence might say, “This 7th grade math activity will help your students learn how to add integers. These maze worksheets….”
You should not say, “These are maze worksheets. These worksheets are for grade 7. Each worksheet has the students practice adding integers. Also good as a prealgebra worksheet.” Though I’ve used a lot of keywords, it doesn’t sound natural.
Another strategy I like to use is to convey the benefits in the snippet.
Because the snippet is the only thing that the potential customer will see (when scrolling through a list of other products) the snippet can help me get them to click on the product. So instead of repeating information that they can find in the product title or cover image (like that it’s a maze worksheet for adding integers), I like to put forth a sales pitch.
Instead of describing the product, like I did in the sentence above, I might say, “Students will love this engaging, maze-solving experience that turns math practice into an exhilarating journey…” In so doing, I’ve conveyed the benefit; that these worksheets are a fun and engaging way to practice the skill.
TIP: In your snippet, solve a problem for the buyer, convey the benefit of the product, or explain what makes it unique.
Do not waste words in the snippet. Don’t say things like, “Follow my page,” or “Like me on Instagram,” or “also available as a digital resource,” or anything else that doesn’t accomplish the tips mentioned above.
In fact, most of those words shouldn’t be in the description at all. Keep your descriptions short and on point.
List the Key Features
What components does your product have? Does it come with a teacher’s guide? Answer sheets? A list of resources or a vocabulary sheet. List everything that’s included.
Also highlight the things about this worksheet that make it great. For example, I sell Reteach worksheets. They have a guided tutorial section that the students can work on independently to help them learn the key concepts. It has a comprehension check section where students solve some practice problems and then check their work to see if they’re doing it correctly. Then it has an independent practice section so the teacher can assess the students’ work.
Other key features that are common that you might want to include are:
- Multiple worksheets for differentiation
- Saves time, just print and go
- Easy to use
- Aligns to Common Core Standards
- Has extension activities
- Includes problems of increased rigor for test prep
Another good strategy to do is to think about the problems that it solves. Talk about those.
As an aside, Key Features should be a section in the description. Use spacing to separate it from the other sections. Also bold the heading. You can also implement bullets or emojis to highlight the different features, this is just a good copywriting strategy.
Explain How to Use It
Don’t take for granted that your reader will know what to do with your resource. Explain it to them. This will make them more likely to see themselves using these resources in their classroom.
In your description, give the teacher ideas on how the product can be used. Paint a picture that gets them excited and helps them understand how it will benefit their class.
For example, I sell these color by numbers worksheets:
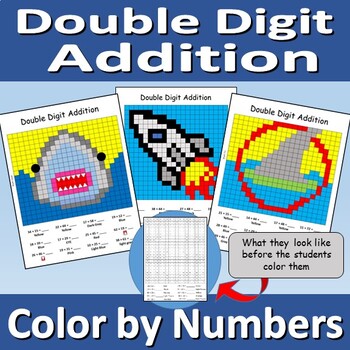
In my description, I mention that these worksheets can be used in various ways. They can be a whole group assignment, or used in stations. It could be homework or an extension activity, or something for students to do when they finish the test early. They also make a great activity for your sub folder.
By sharing all this information with the teacher, they are more likely to consider one way that it can be used in their class and get excited about the product – making them more likely to purchase.
Describe the Product – What’s Included
In your product description, explain not just what the resource is for, but also what it is.
Is it a PowerPoint Presentation with videos embedded? Is it a worksheet? Is it an editable lesson plan that includes notes pages, task cards, a tutorial video?
How many pages is it? Does it include an answer key? Is it editable?
Help the customer completely understand what it is that she’s purchasing so they aren’t surprised when they download – which will result in you getting a bad review!
More Tips and Strategies about Product Descriptions
The above has talked about the main sections that should be in your product description. Here are some more strategies and tips you can use to make your product description great.
Use Key Words and Phrases Throughout
Remember that your product will show up in Search Engines.
The two most common search engines that it will show up in are Google and the TpT search bar. So you want to give both of these search engines as much information as you can to show your product to as many people as possible.
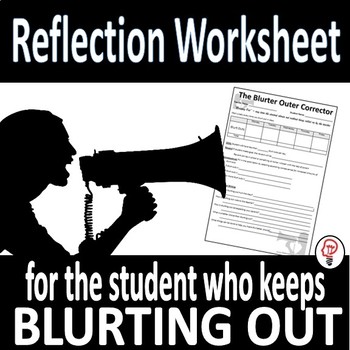
For example, one of my best-selling products is this reflection worksheet for students who constantly blurt out in class. So let’s think of all the words a teacher might type into one of these search engines – that would benefit from this product.
A teacher might be looking for “classroom management help.” They could need a “reflection worksheet” or a “discipline log.” Maybe they’re typing something in about needing help with the “student who blurts out.”
If I don’t include these words in my product description, then someone typing them into Google will not see it. So think through the keywords and phrases that someone might type into Google or TpT Search and include them in your product description.
Short Product Descriptions are Good
Yes, long sales pages can do well. And it has been wisely said that the person who keeps reading the product description is someone who’s interested in buying.
But my opinion is this, long product descriptions make the product feel complicated. And teachers are not spending their money on complicated things, they want quick wins. Products that make their life easier and the time they spend on instructional prep shorter.
Of course, if you have a large bundle with lots of products, by default the description is going to get long. But as much as you can avoid it, keep it short.
Einstein said, “Everything should be as simple as possible, but not simpler.”
This is true for your product descriptions. Give all the necessary information, but make it as simple as possible.
Formatting
Too many words encourage readers to skim. So be brief and to the point.
Also, break up your words by making your paragraphs no more than three sentences. Look at this blog post – you’ll notice that no paragraph is longer than that. This way readers don’t get overwhelmed and start skimming.
Use bold font to grab the reader’s attention
We often skim when we read. But bold text forces us to stop and pay attention. If the words in bold have piqued our curiosity, we will go back and read more.
Use Bullets
Bullets offer a break in the text, so it also stops the eye and forces the reader to engage and pay attention.
You can use bullets for:
- product descriptions
- list key features
- explain possible uses of the product
- link to similar products
- or anything that you want to draw attention to
Cross Link
Link to other products in your description, at the end.
If you are bundling several products together, you can bundle from the mini products to the bundle and vice-versa.
Or, you can link to similar products that your customers might also enjoy, or different versions of your product (like if it comes as a digital resource instead of a printable).
Including cross-links increases your likelihood of a sale because the potential customer may find something that they like if they’re not completely sold on your first item. OR… they may purchase both!
Include Common Core Standards
Common Core standards help buyers better understand the product that you have sold.
It also gives another opportunity for buyers to find your product, since they might be searching by the standard.
Even if you teach in a state that doesn’t include common core standards, include them in your product description, because most teachers teach in a state that has adopted common core. Plus, TpT will now translate the common core standards into the state standards of the person looking at your resource.
Use Sections
If your product description is getting long, you should break it up with sections. You can use lines, headers, bullets, etc. to help make it look more aesthetically appealing.
Use section headings that you make bold (even consider underlining).
The text headings could include things we’ve discussed in this article, like “How to Use” or “Key Features,” and “What’s Included.”
Emojis are in!
Teachers are now inserting emojis into their product descriptions. While this may feel cheesy, it helps certain parts of your post stand out, and it does improve the appearance of the description. So use them.
Create Custom Categories
Create custom categories in your TpT store and start labeling all your products with them. This is another way to make it easier for potential customers to find the products you have that they like.
For example. Let’s say someone really likes my color-by-numbers worksheet (pictured above) and they’re saying to themselves, “I really wish he had this for adding integers.” If I have a color-by-numbers custom category, the customer can just click on that link and see all my available products.
I currently have 100s of items in my store, so it would be very time consuming for the customer to try and scroll through all of those products. So his other option is to type it into the TpT search bar, but that might not result in him finding my product – instead, the customer might find a similar product from another seller. So keep them on your page by making custom categories for your store.
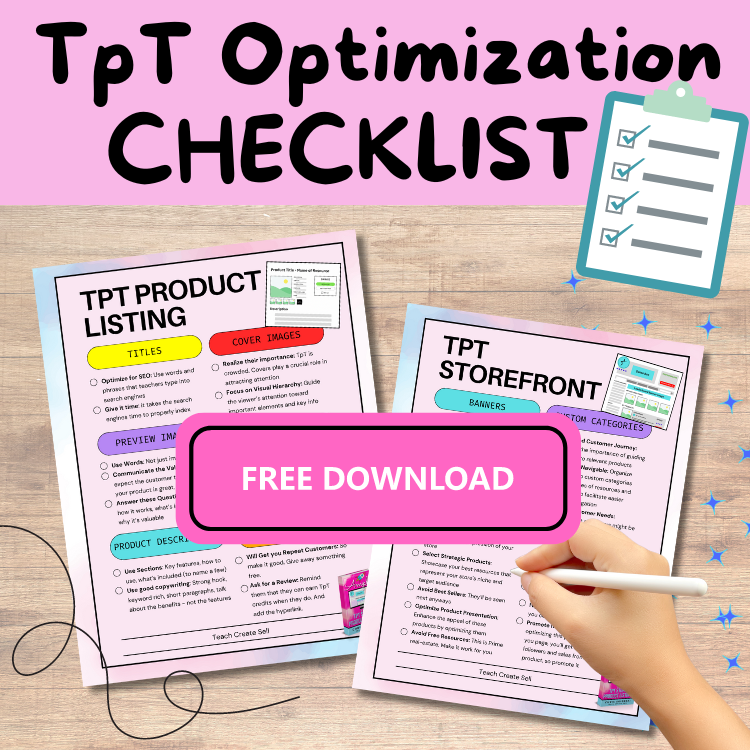
Free Checklist
If you want more strategies on optimizing your TpT store and product listings, I have a free checklist. It will show you the different components of a storefront and product listing and give you some tips on how to optimize.

I also have an ebook on optimization you should look at. It includes a bonus resource on product listings: a writing prompt that will get ChatGPT to write great product listings for you.
Want more Copywriting Tips and Strategies?

Want more Help Starting your TpT Page?